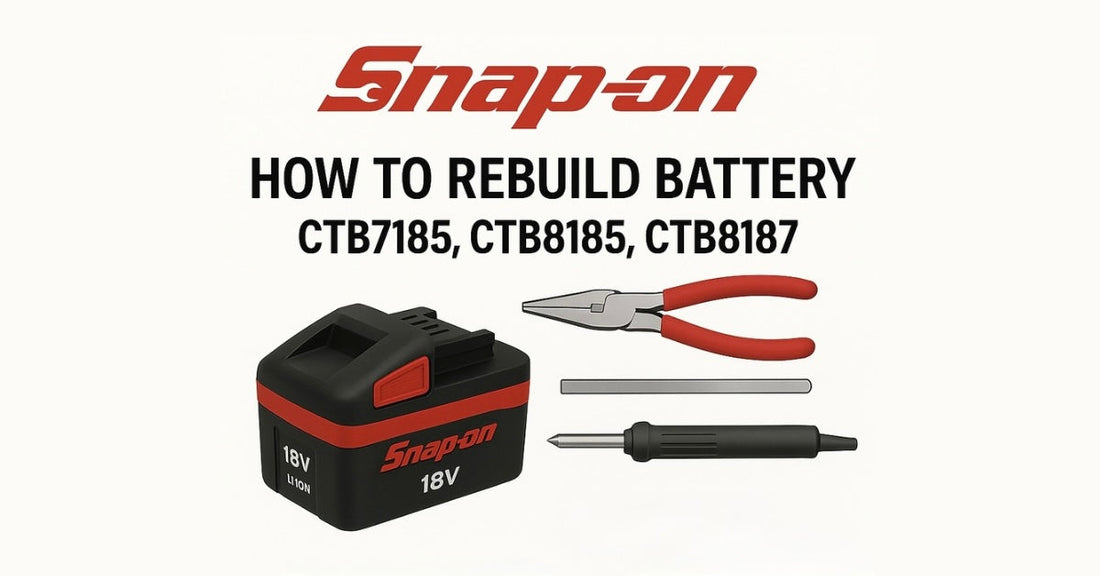
How to Rebuild a Snap-on 18V Battery Pack (CTB8185 / CTB8187 / CTB8189, 5S2P, 18650 Cells) | Step-by-Step Guide
This complete guide shows you how to rebuild the Snap-on CTB8185 18V battery pack. The CTB8185 uses a 5S2P configuration of 18650 lithium-ion cells. ⚡ Note: The rebuild process is the same for the Snap-on CTB8185, CTB8187, and CTB8189, since all three packs follow the same basic design and configuration. We’ll cover specifications, tools, step-by-step rebuilding, safety notes, and professional tips. Parts and tools can be sourced directly from RenewSpark
Battery Pack Specifications
- Configuration: 5S2P (5 series × 2 parallel = 10 cells)
- Nominal Voltage: ~18V (3.6V × 5)
- Full Charge Voltage: ~21V
- Capacity: ~5Ah (2 × 2500mAh)
- Cells Used: Samsung 18650-25R, 3.6V 2500mAh
- Energy: ~90Wh
- Nickel Strips: 15mm × 0.2mm nickel plate
- BMS: 5S, ≥30A with temperature sensor
Required Tools & Materials
- Spot Welder – set to gear 40, tips 2–4mm apart, pulse 2ms
- Soldering Station (e.g. WEP 927 IV) with solder wire
- Desoldering Tool – for thick solder removal
- Pliers & precision cutters – for nickel strips
- Cut-resistant Gloves – nickel plates are sharp
- Kapton Tape – high-temp insulation
- Fish-paper Insulation Rings – for positive cell ends
- Clear Electronic Grade Silicone – to secure cells & reattach sensor
- Internal Resistance Tester (e.g. YR1035+)
- Desoldering Wick – for cleaning BMS pads
- Snap-on CTB8185 Charger – must be the correct charger
Step-by-Step Rebuild Process
- Open the battery case: Carefully disassemble the Snap-on CTB8185 housing to expose the pack.
-
Remove the BMS:
- Cut the nickel strips carefully and detach the BMS.
- Use the desoldering tool or solder wick to remove old solder.
- Clean the pads for fresh nickel connections.
-
Check the old cells:
- Measure voltage with a multimeter.
- Check internal resistance using YR1035+ tester.
- If cells are rusted, swollen, or out of spec — stop and recycle.
-
Prepare the new cells:
- Use Samsung 25R 18650 cells.
- Install cells into the plastic cell holder.
- Place insulation rings on positives.
- Secure with a little caulking.
-
Spot-weld the nickel strips:
- Weld 15×0.2mm nickel strips according to the 5S2P layout.
- Spot welder settings: gear 40, 2–4mm spacing, 2ms pulse.
- ⚠ Avoid short circuits — nickel across two cells can spark/fire.
-
Reconnect the BMS:
- Solder new nickel to the BMS pads.
- Reattach the temperature sensor with caulking.
-
Final checks:
- Check voltages between BN–V1, V1–V2, V2–V3, V3–V4, V4–V5 (~3.6V each).
- Total BN–V5 should read ~18V.
- Confirm balance wires are correct.
-
Charge and test:
- Only use the Snap-on CTB8185 charger.
- If it charges normally, your rebuild is successful.
- Recycle old cells: Take dead lithium-ion cells to a recycling center.
Safety & Cautions
- Never short cells — even momentary contact can spark and ignite.
- When removing nickel strips with pliers, avoid touching adjacent cells.
- Always wear cut-resistant gloves.
- Do not reuse rusted, swollen, or damaged cells.
- If the BMS is corroded or broken, replace it — do not reuse.
- Work in a safe space with a fire extinguisher nearby.
Pro Tips
- Apply caulking with a cotton swab applicator for precision.
- Label the pack with rebuild date, cell type, and capacity.
- Take photos of wiring before teardown to use during reassembly.
Disclaimer: This guide is for educational purposes only. Battery rebuilding is dangerous. Proceed at your own risk. RenewSpark is not responsible for injury, damage, or misuse.
